SharePoint Connector Documentation
- Setup Instructions
- Flow 1: OAuth Based
- Flow 2: Personal Service Principal
- Flow 3: Custom OAuth
- User connector flow
- Permissions and Access
- How to Use the SharePoint Connector
- Using SharePoint Data with LLMs
- Troubleshooting and FAQ
If you have already set up a connector, skip to How to Use the SharePoint Connector.
Connect your SharePoint to Abacus.AI
To integrate SharePoint with Abacus.AI, you need to set up the connector and provide the necessary permissions.
Setting Up the SharePoint Connector
Flow 1: OAuth Based Setup
-
Before setting up the SharePoint Connector with OAuth, ensure that you have the necessary permissions to generate an OAuth token for accessing your SharePoint site.
-
Access Connected Services Dashboard:
- Go to the Abacus.AI Connected Services Dashboard. You can click your profile in the top right and then click "Manage Connectors".
-
Add New Connector:
- Click on the "Add New Connector" option, select "SharePoint" from the list, enter your site URL and click on
tick markbeside the site URL.
- Click on the "Add New Connector" option, select "SharePoint" from the list, enter your site URL and click on
-
Select "OAuth" from the 'Authentication Type' dropdown.
-
Enable Realtime Synced Datasets (Optional):
- Toggle the "Enable Realtime Synced Datasets" option to
Yesif you want to sync datasets in real time.
- Toggle the "Enable Realtime Synced Datasets" option to
-
Admin Mode (Optional):
- Toggle the "Admin Mode" option to
Yesif you want to grant admin consent to AbacusAI_Sharepoint_Connector Entra App instead of using user account for OAuth.
- Toggle the "Admin Mode" option to
-
Enable Multi-Site Selection (Optional):
- If you want to pull data from multiple SharePoint sites, toggle the "Pull from Multiple Sites" option to
Yes. - Enter the SharePoint domain in the "SharePoint Domain" field. The domain must end with
sharepoint.com. - Use the
+button to add multiple site names or enter them as comma-separated values in the "Sites" field.
- If you want to pull data from multiple SharePoint sites, toggle the "Pull from Multiple Sites" option to
-
Skip Sensitivity Labels (Optional):
- If your SharePoint environment uses Microsoft Purview sensitivity labels, you can exclude files with specific sensitivity labels during data ingestion.
- Enter a comma-separated list of sensitivity label names in the "Skip Sensitivity Labels" field to skip files matching those labels.
- Ensure the
SensitivityLabels.Read.Allapplication permission is granted with admin consent for this feature to work.
-
Click on
Connect Sharepointbutton to create and save the connector.
Flow 2: Personal Service Principal Setup with certificates
-
Select Authentication Type:
- Go to the Abacus.AI Connected Services Dashboard. You can click your profile in the top right and then click "Manage Connectors".
- Click on the "Add New Connector" option, select "SharePoint" from the list, and choose "Personal Service Principal" as the authentication type.
-
Enter Client ID:
- Provide the Client ID for your Personal Service Principal.
-
Optional Configurations:
- If you want to pull data from multiple SharePoint sites, toggle the "Pull from Multiple Sites" option to
Yes. - Note: The "Enable Realtime Synced Datasets" option is only available for the OAuth Based flow and is not applicable here.
- Skip Sensitivity Labels (Optional): If your SharePoint environment uses Microsoft Purview sensitivity labels, enter a comma-separated list of sensitivity label names to exclude files matching those labels during data ingestion. Ensure the
SensitivityLabels.Read.Allapplication permission is granted for this feature to work.
- If you want to pull data from multiple SharePoint sites, toggle the "Pull from Multiple Sites" option to
-
Save and Verify:
- Click "Save". A popup box will appear with a certificate. Download this certificate as it will be required for the next steps.
-
Grant Permissions in Microsoft:
- Grant the necessary permissions in Microsoft for the Personal Service Principal.
-
Upload the Certificate:
- Follow the instructions provided in the popup box to upload the certificate and complete the verification process.
-
Verify Connector Status:
- Once the permissions are granted and the certificate is uploaded, the connector should be set up and display an "ACTIVE" status.
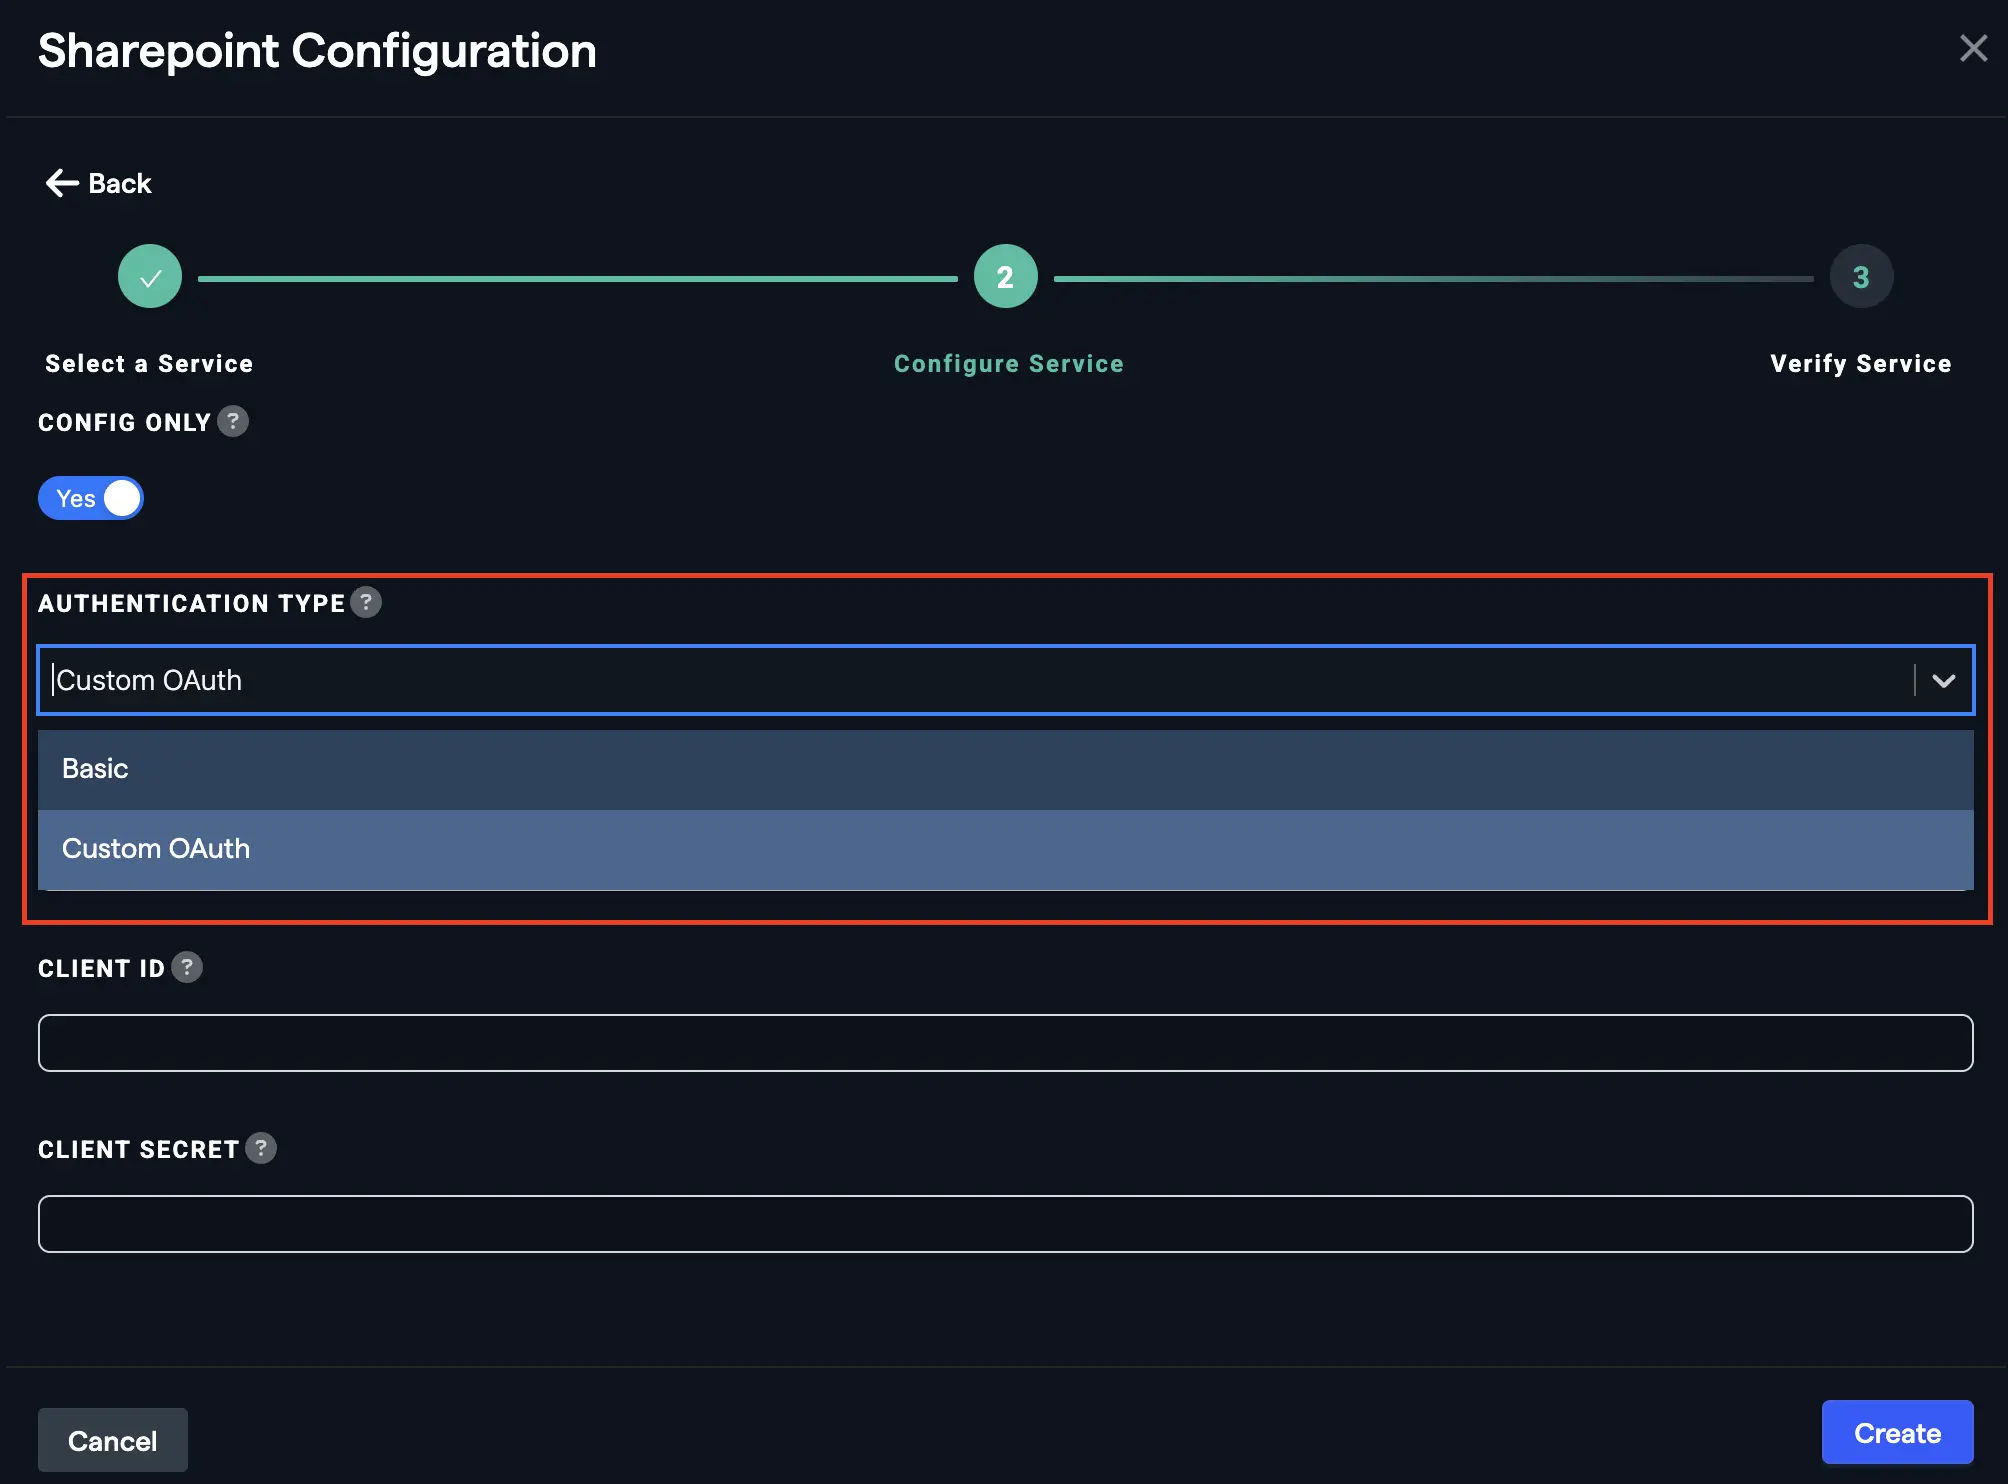
Flow 3: Custom OAuth
-
Access Connected Services Dashboard:
- Go to the Abacus.AI Connected Services Dashboard. You can click your profile in the top right and then click "Manage Connectors".
-
Add New Connector:
- Click on the "Add New Connector" option, select "SharePoint" from the list, enter your site URL and click on
tick markbeside the site URL.
- Click on the "Add New Connector" option, select "SharePoint" from the list, enter your site URL and click on
-
Select "Custom OAuth" from the 'Authentication Type' dropdown.
-
Use your own OAuth app and grant it access to read data.
- Copy the app's Client ID and Client Secret, then enter them into the Client ID and Client Secret fields. Note: Please refer to microsft documentaiton to create the app and add necessary scopes to app.
-
Skip Sensitivity Labels (Optional):
- If your SharePoint environment uses Microsoft Purview sensitivity labels, enter a comma-separated list of sensitivity label names to exclude files matching those labels during data ingestion.
- Ensure the
SensitivityLabels.Read.Allapplication permission andSensitivityLabel.Readdelegated permission are added to your custom OAuth app.
-
Click on
Connect Sharepointbutton to create and save the connector.
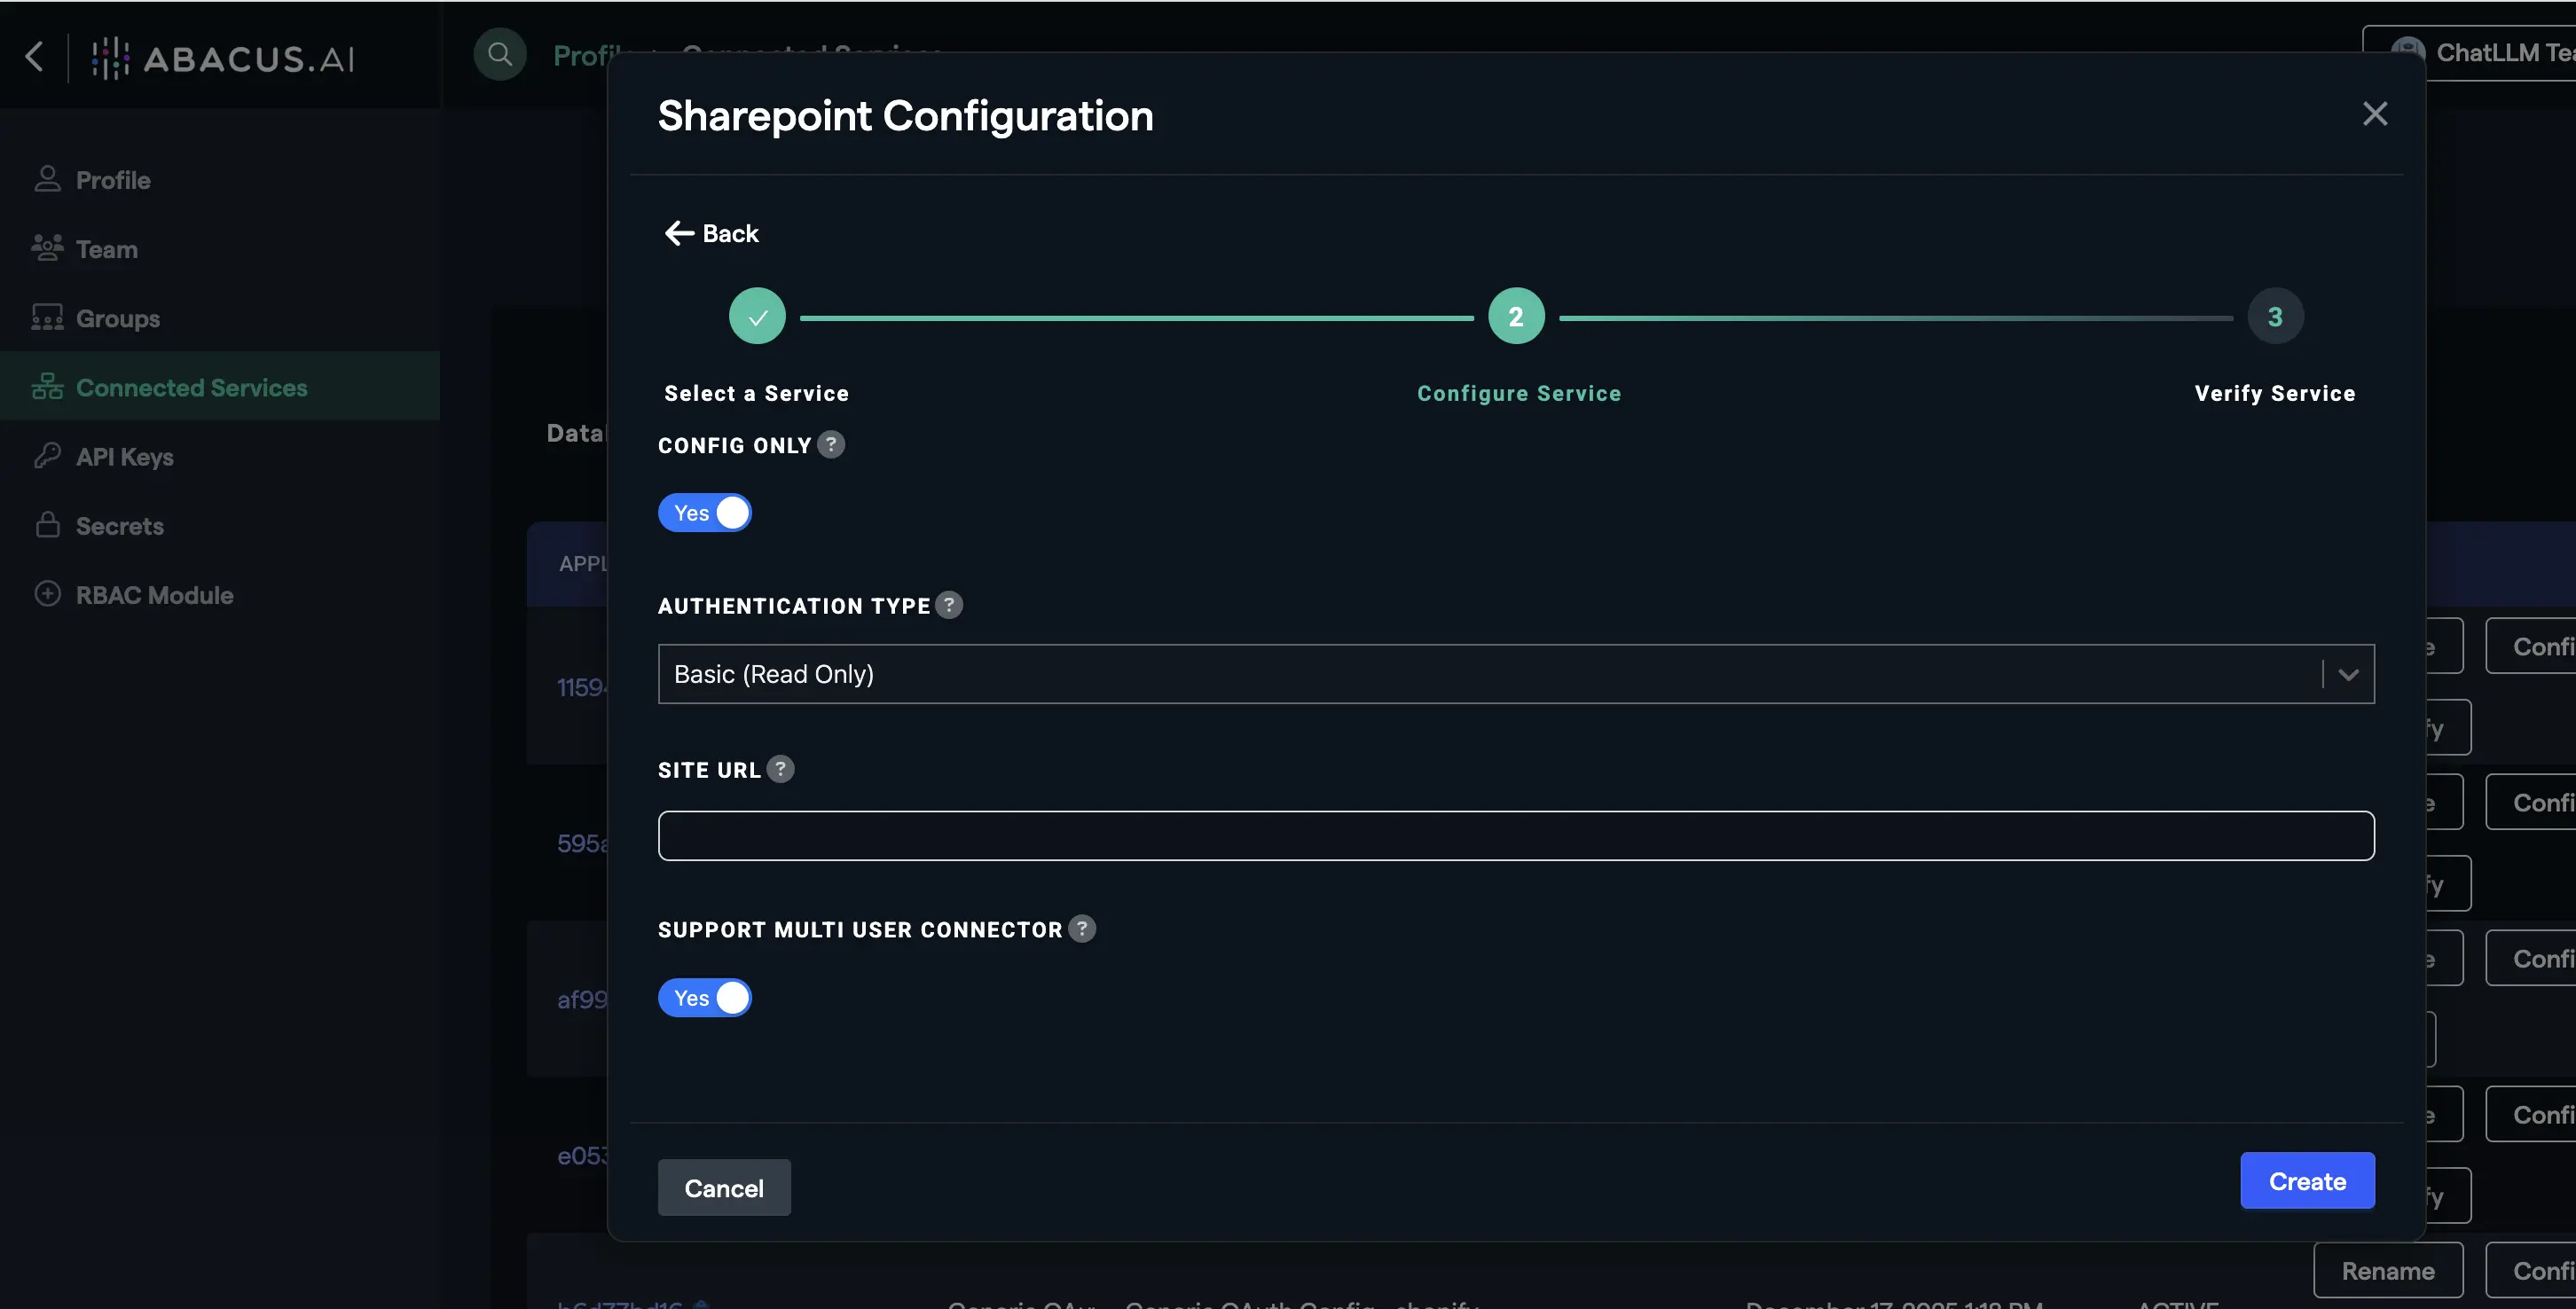
User connector flow
- Turn Config Only toogle ON:
- Go to the Abacus.AI Connected Services Dashboard. You can click your profile in the top right and then click "Manage Connectors".
- Click on the "Add New Connector" option, select "SharePoint" from the list, and turn "Config Only" toggle on.

- Select Authentication Type:
- Select "Basic" if you want to use Abacus.AI app for read only Sharepoint user connector.
- Select "Write" if you want to use Abacus.AI app for read and write Sharepoint user connector.
- Select "Custom Auth" if you want to use your own app with Sharepoint User connector.
- Enter credentials:
- Enter Sharepoint site URL
- Enter client ID and secret if you have selected "Custom Auth".
- Turn Multi User Connector toogle ON: (Optional)
- Turn this toggle ON only if you want to use the multiple Sharepoint config connectors to connect to multiple Sharepoint environments.
Note: Following permissions are requird for user connector. Please note that all the permissions are delegated permissions:
Graph API scopes
Directory.Read.All: Read directory dataemail View users: email addressFiles.Read.All: Read all files that user can accessoffline_access: Maintain access to data you have given it access toopenid: Sign users inprofile: View users' basic profileSensitivityLabel.Read: Read the user's sensitivity labelsSites.Read.All: Read items in all site collectionsSites.Selected: Access selected Sites, on behalf of the signed-in userUser.Read: Sign in and read user profile
SharePoint Scopes:
AllSites.Read: Read items in all site collectionsMyFiles.Read: Read user filesSites.Search.All: Run search queries as a userSites.Selected: Access selected site collectionsUser.Read.All:Read user profiles
Navigate to Sharepoint user connector public documentation to create a user connector.
How to Use the SharePoint Connector
Once the SharePoint connector is set up, you can fetch data to train models in Abacus.AI.
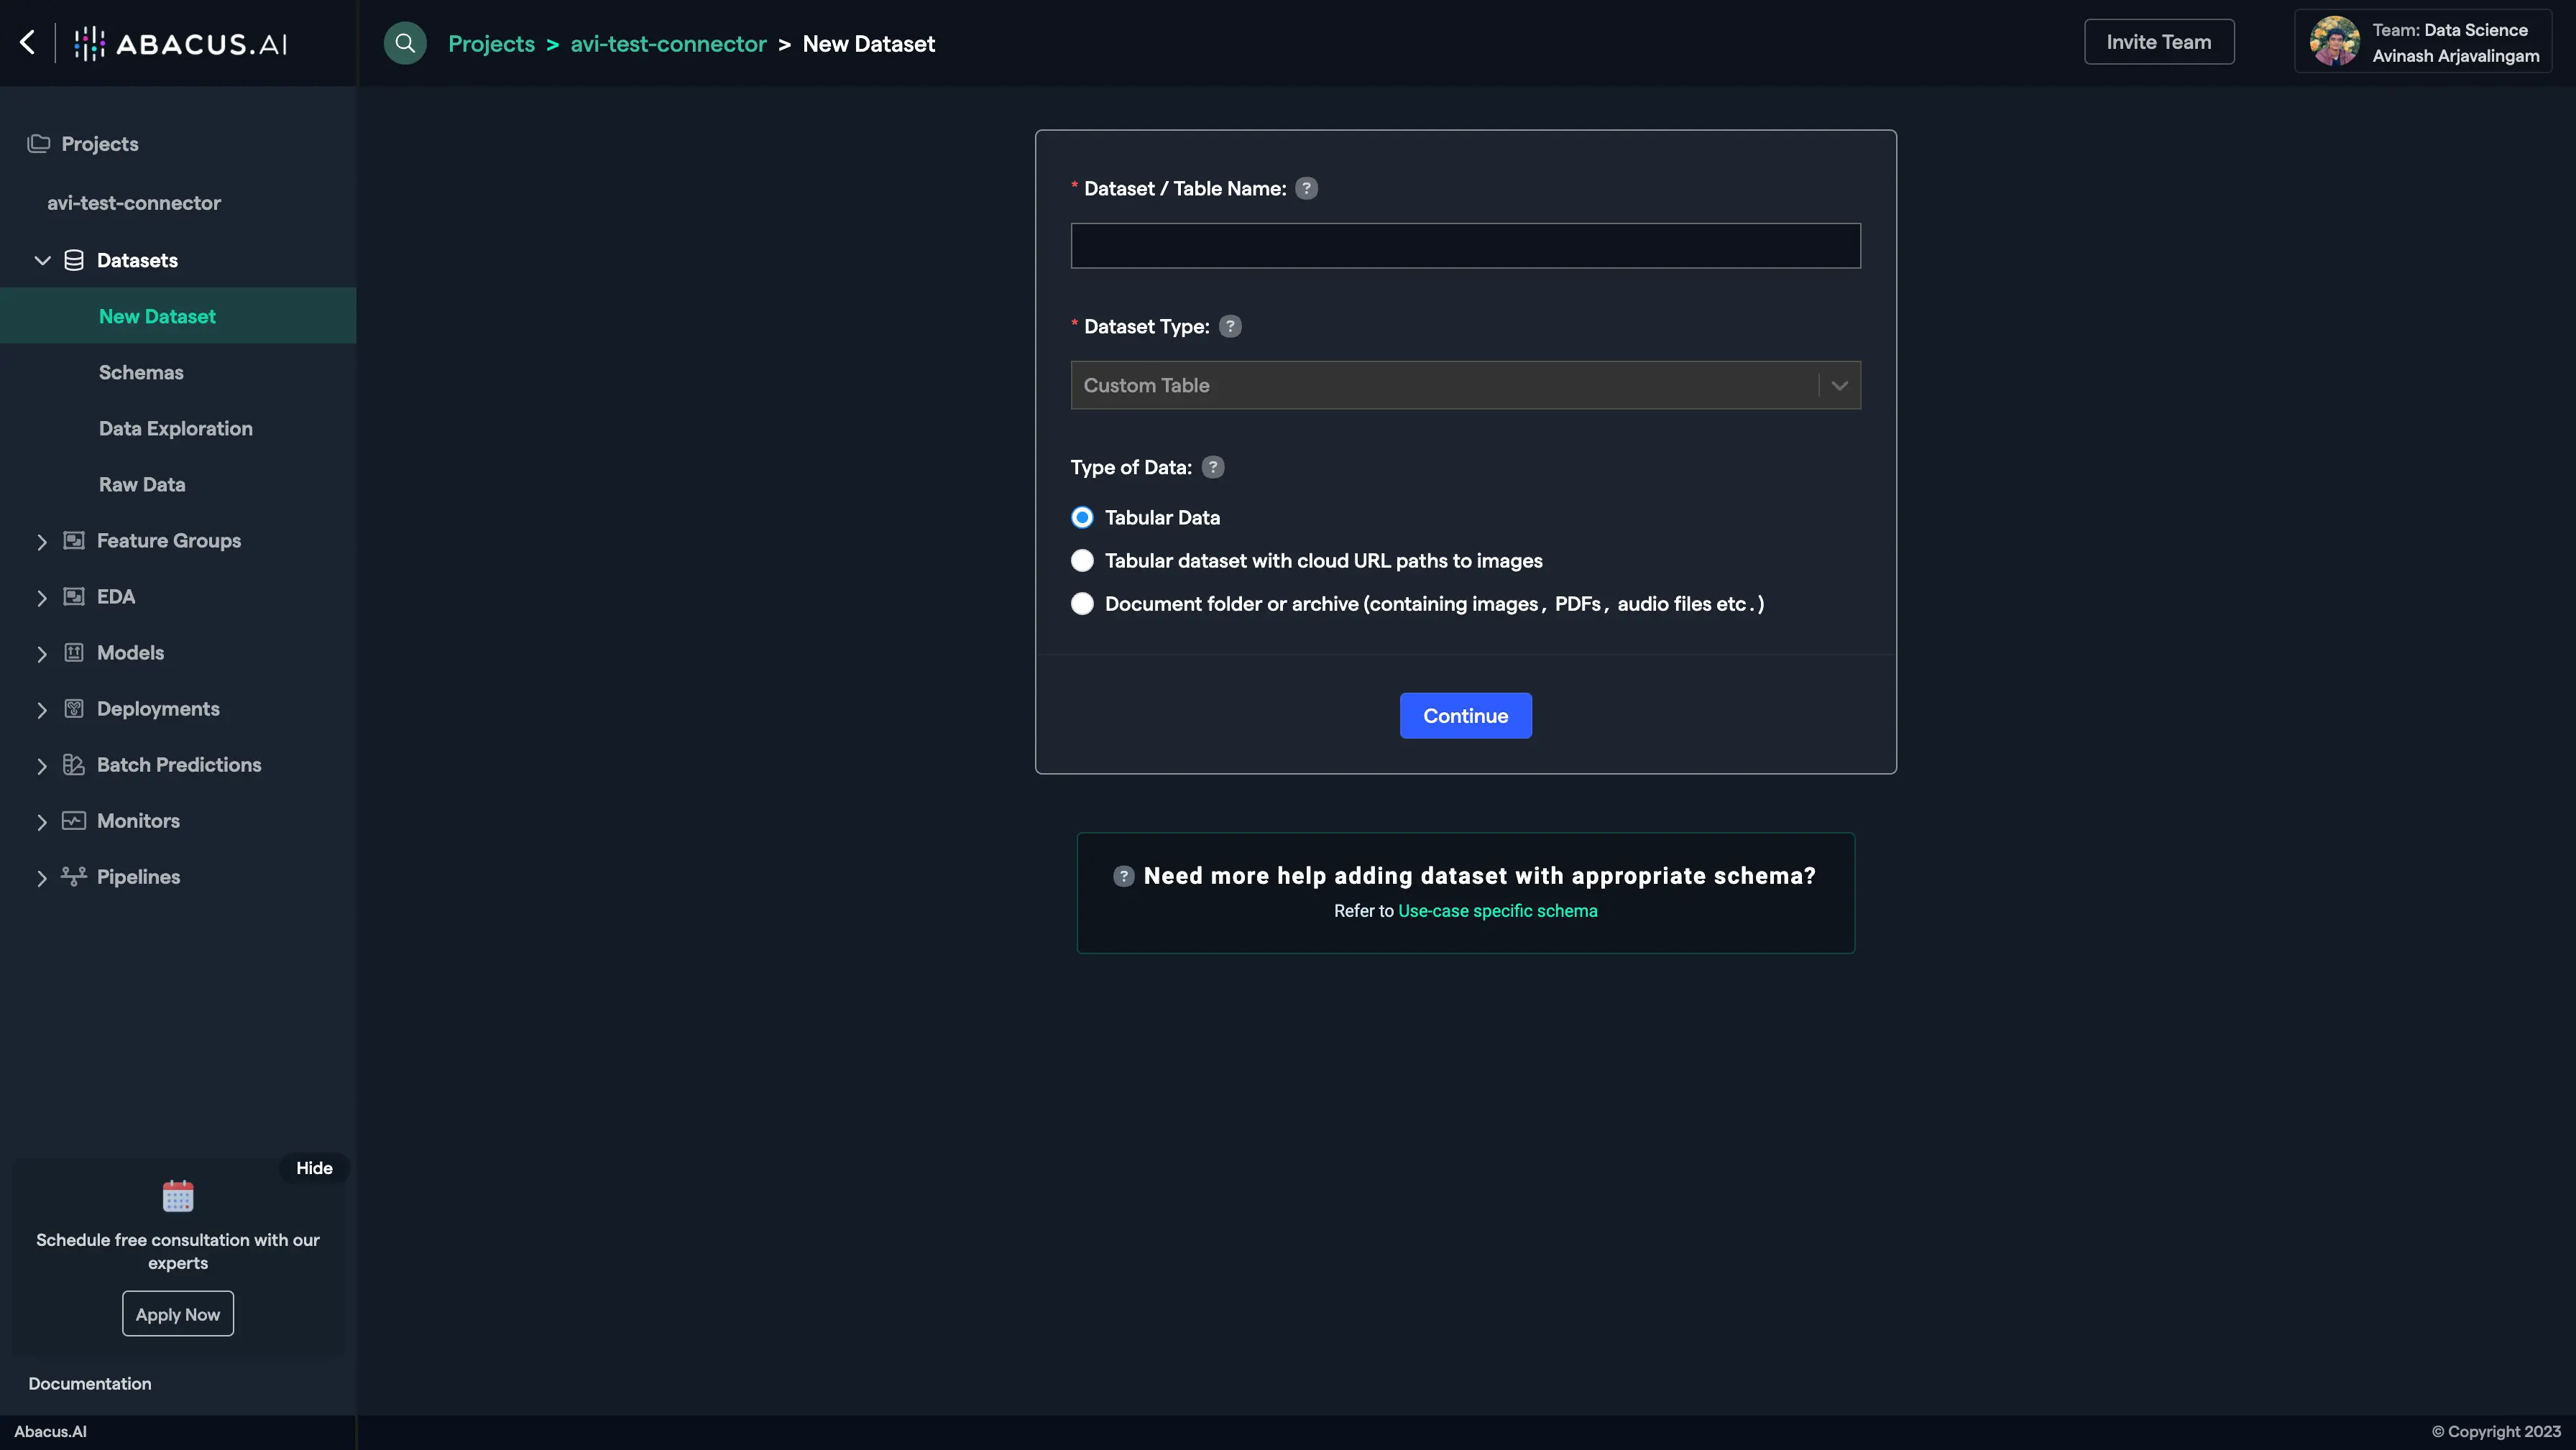
- Create a new project and select the use case, then go to the "Datasets" tab and click "Create Dataset".
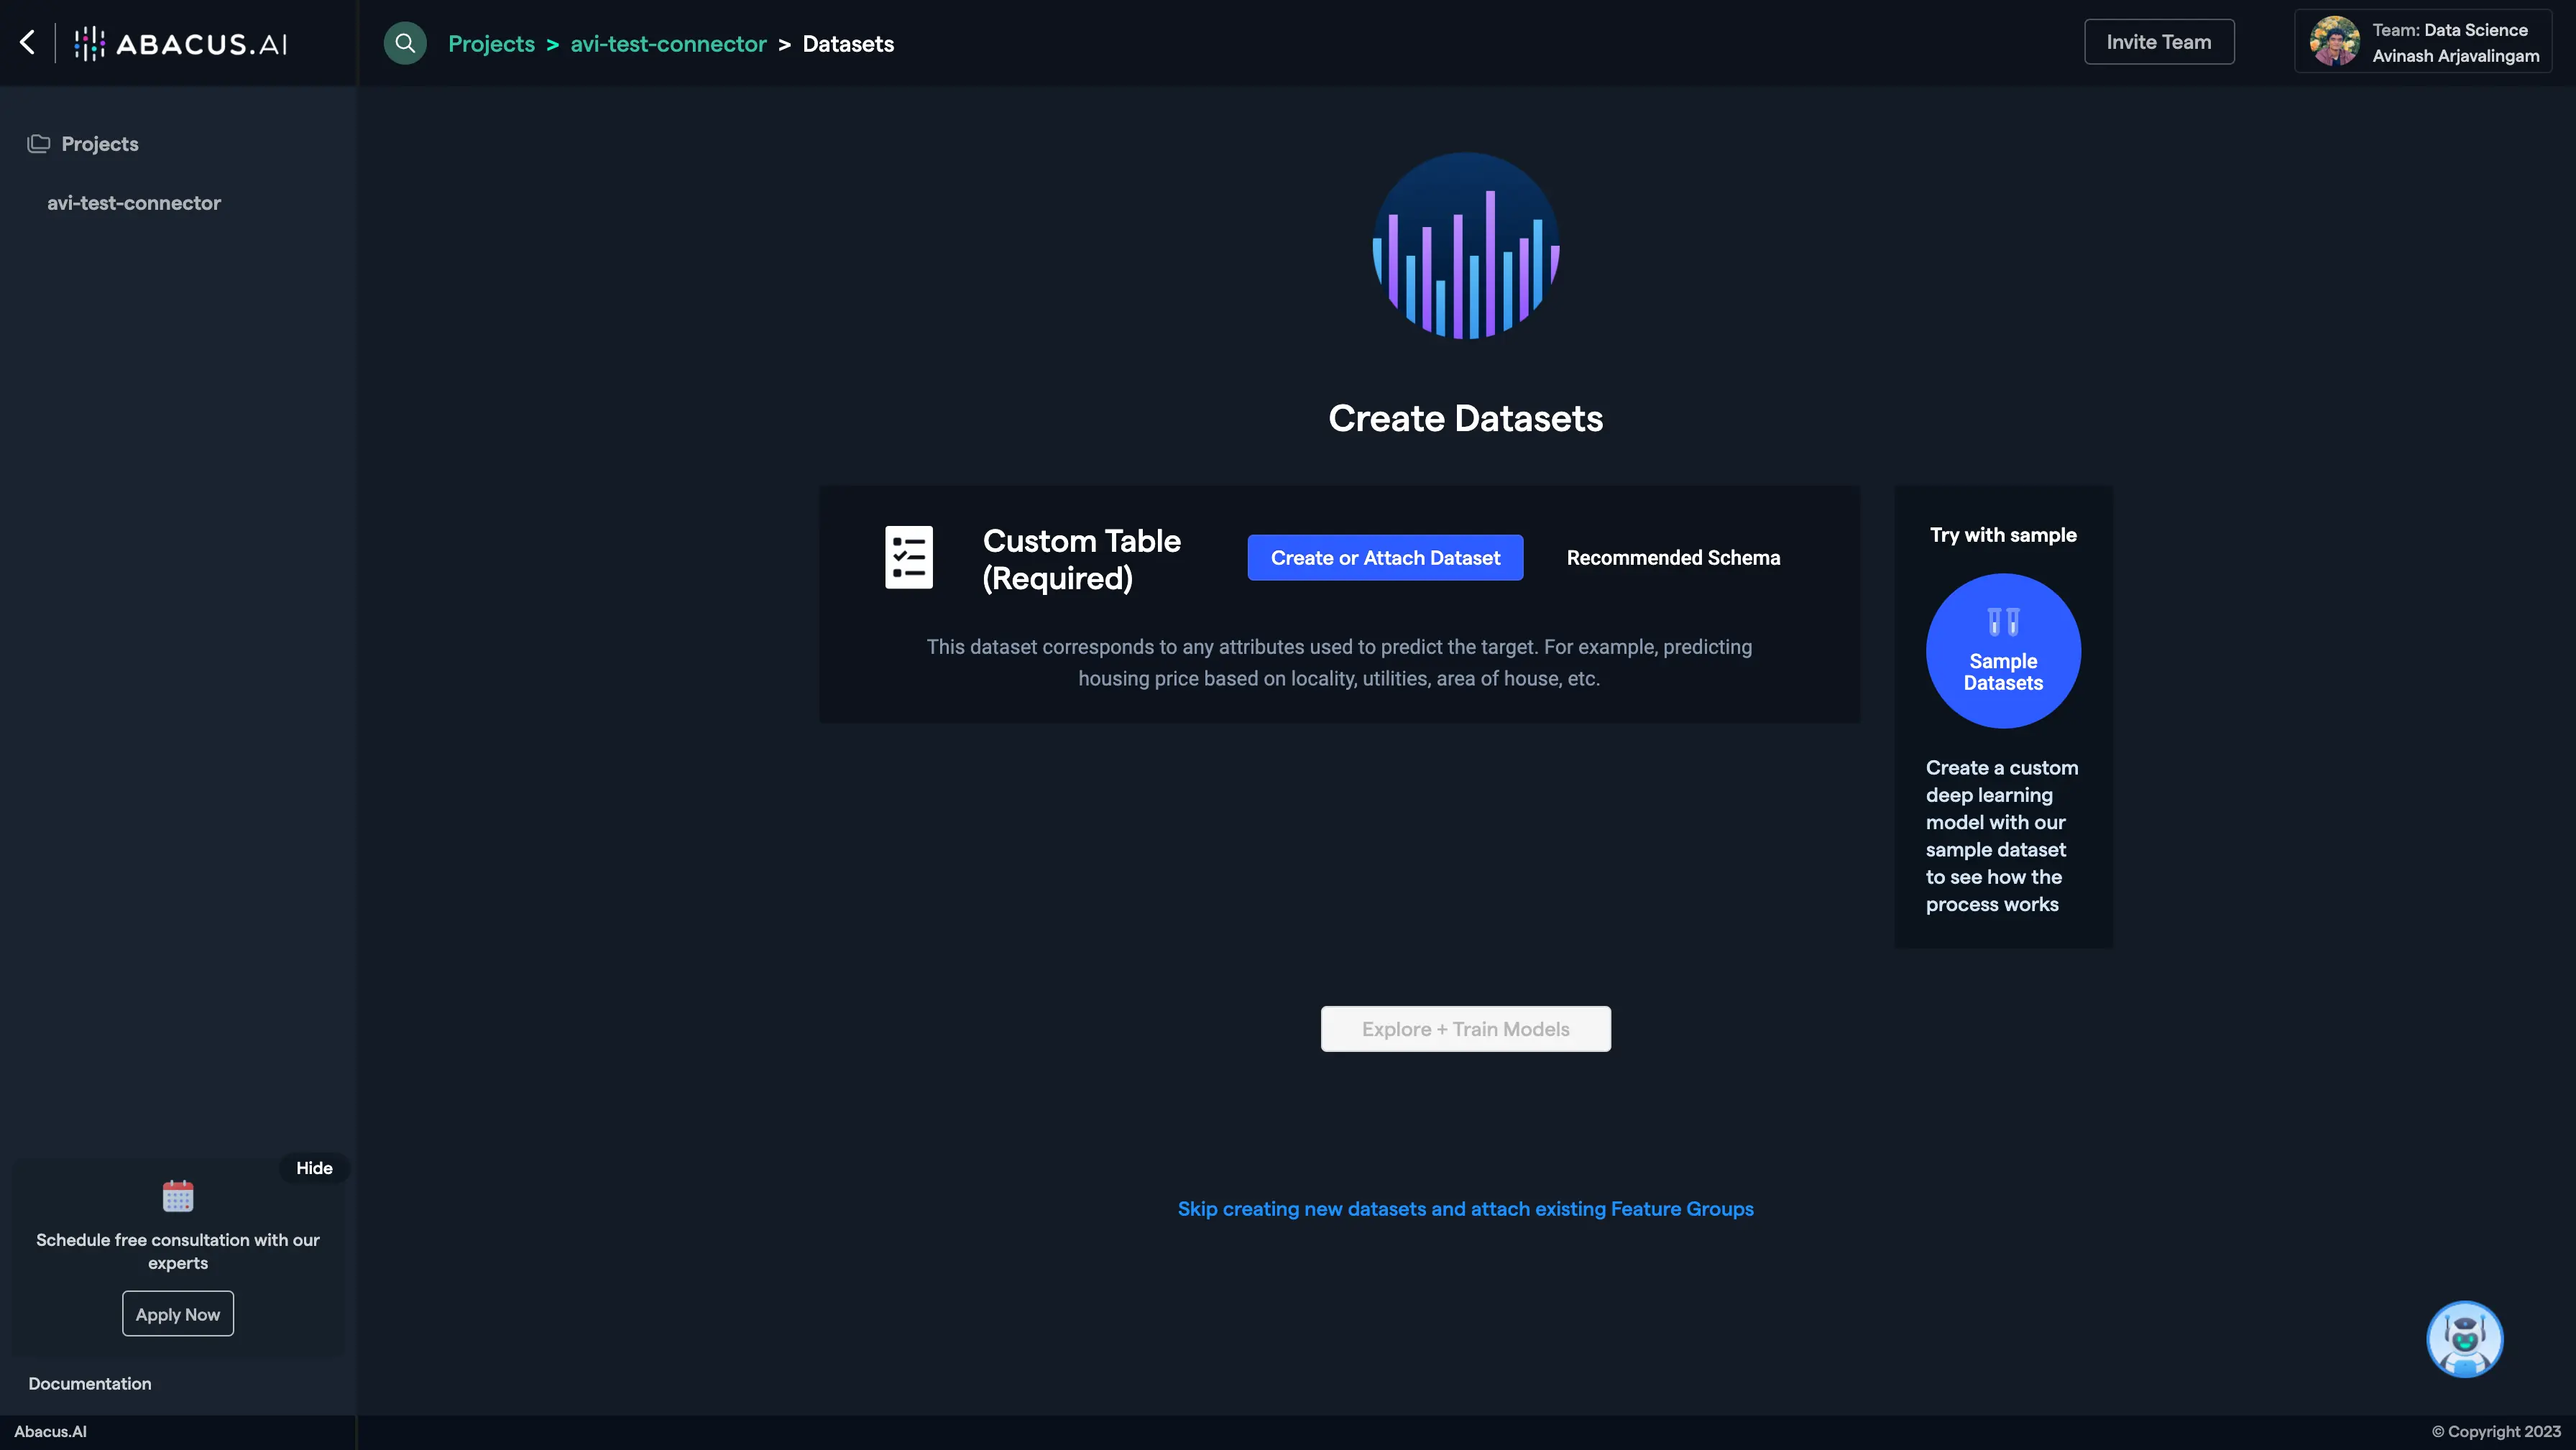
- Click on "Create New".
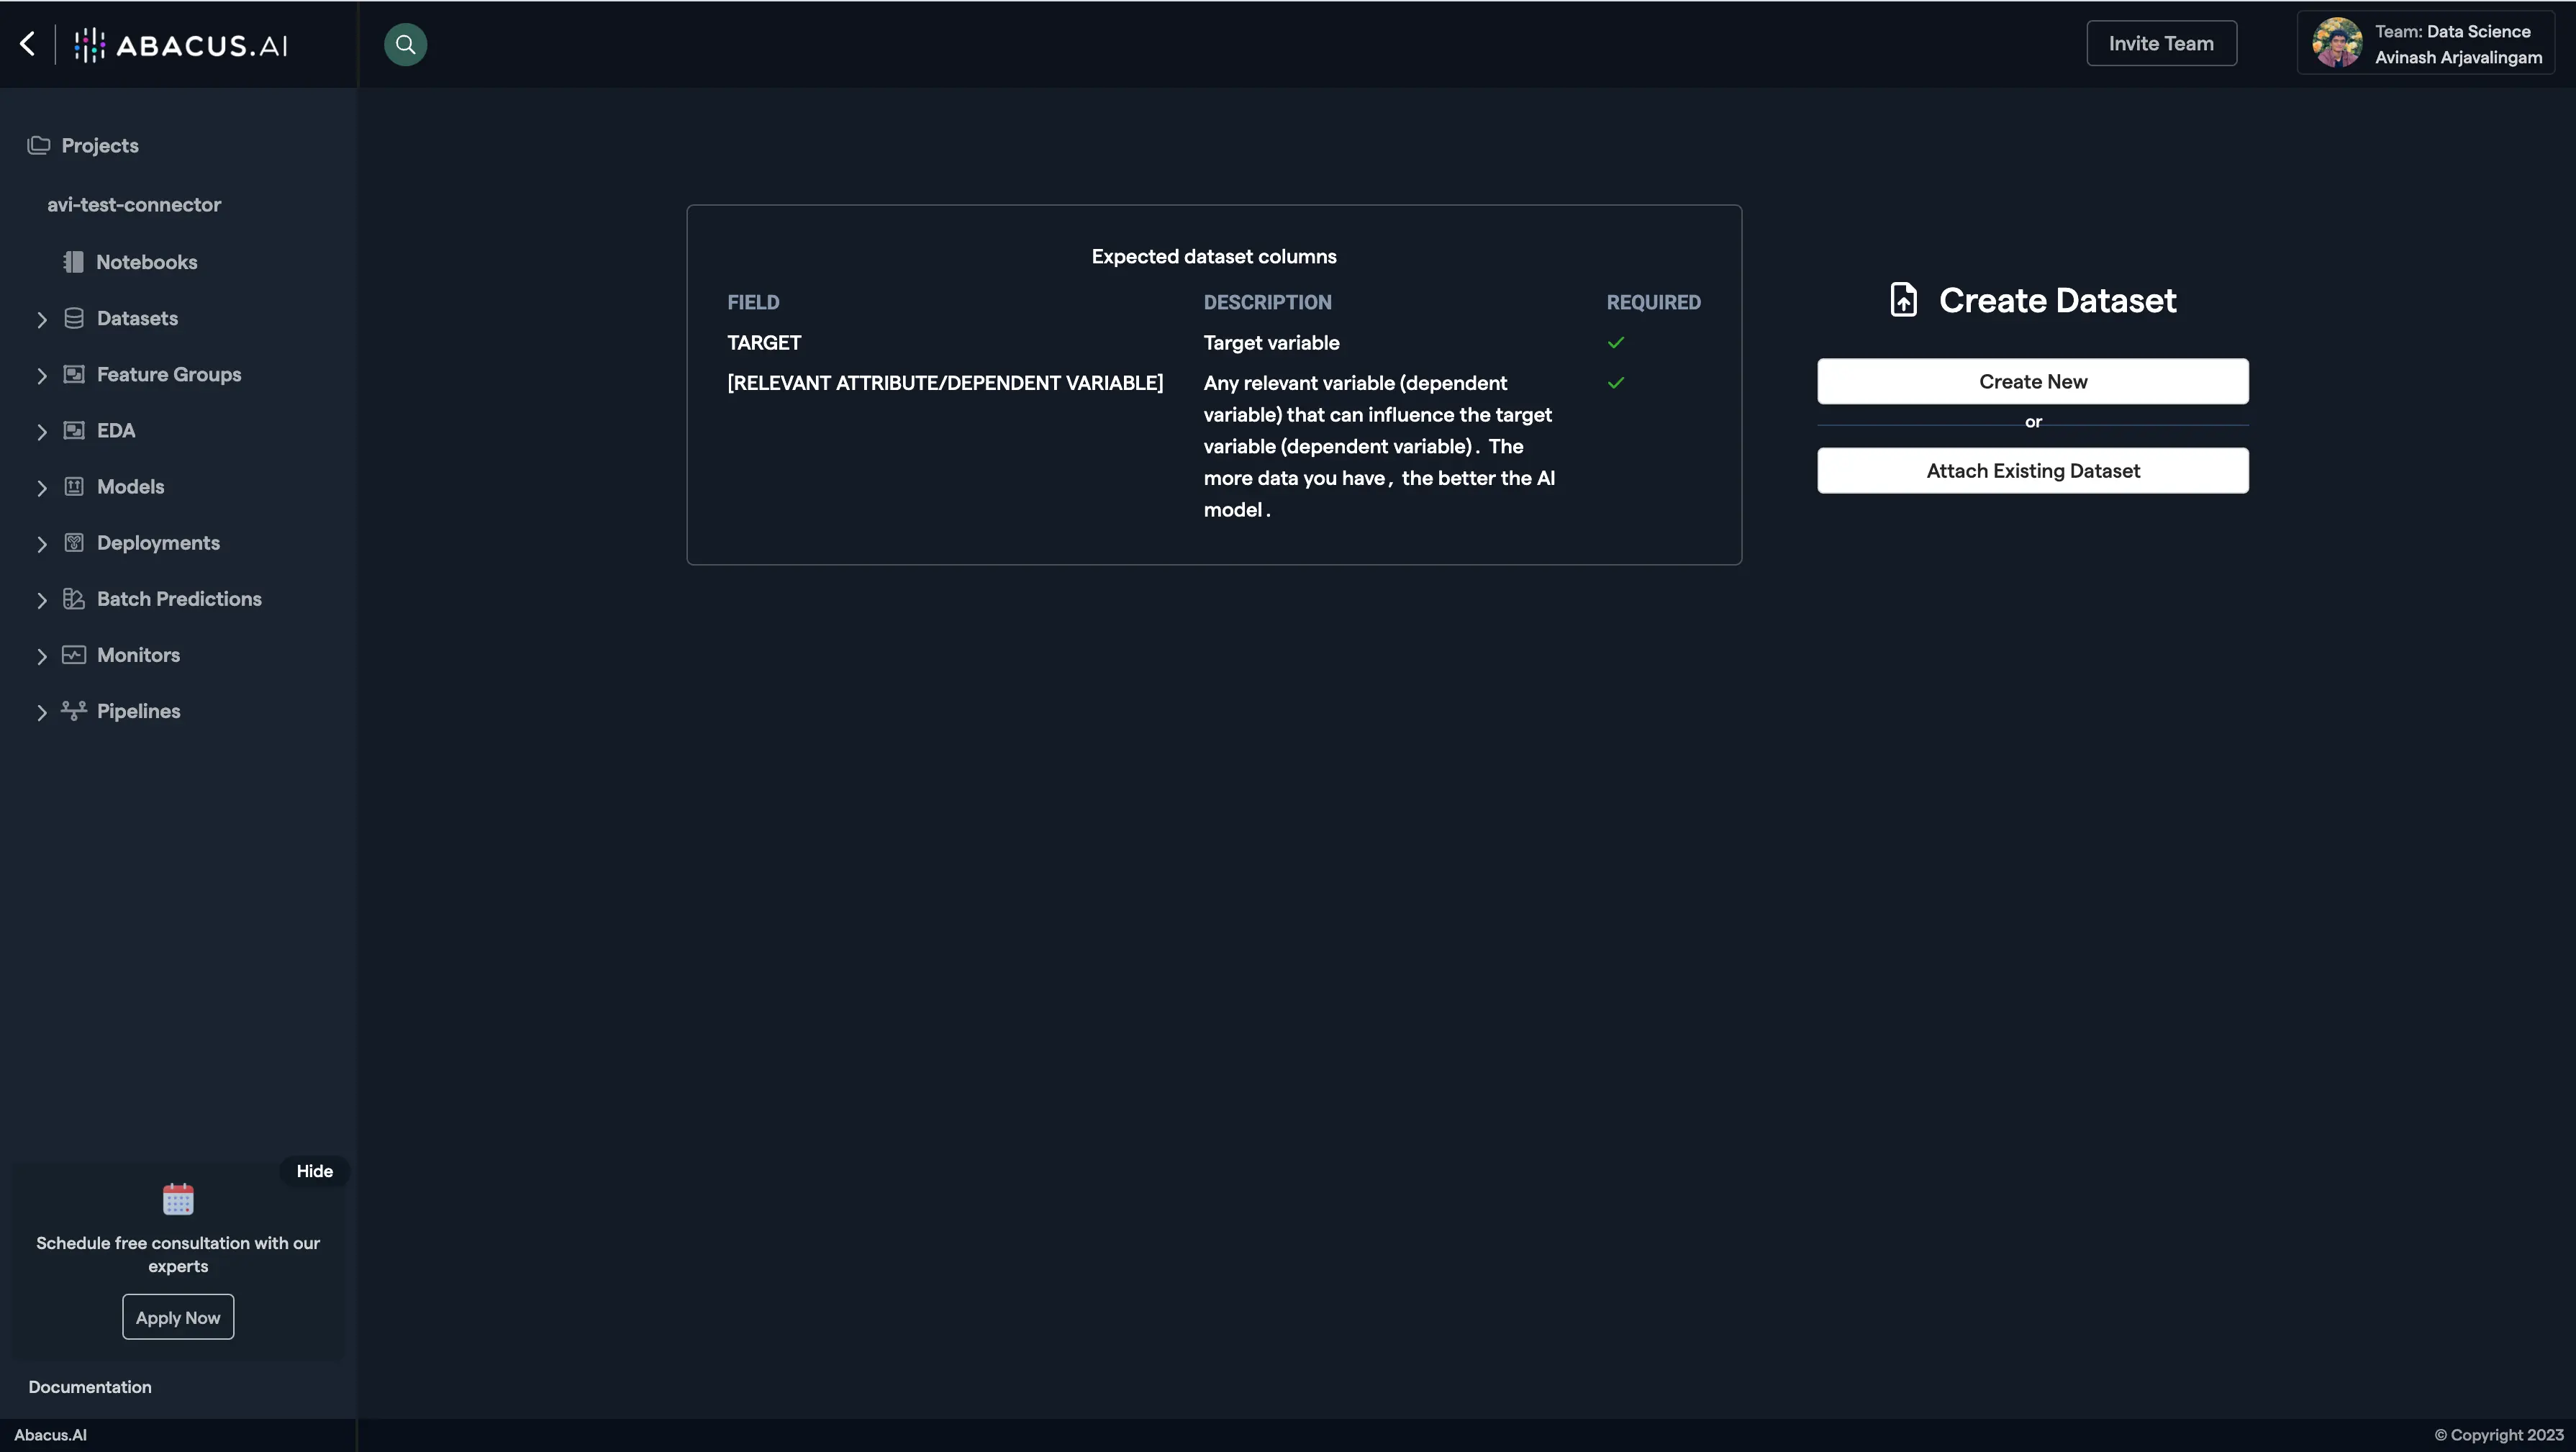
- Name the dataset, select the data type 'List of documents', and click "Continue".
-
Choose "Read from External Service" and select your SharePoint connector under "Connected Application Connectors".
-
Enter the Site URL for the SharePoint site you want to use, and specify the folder path if you have set up the connector to pull from a specific folder.
-
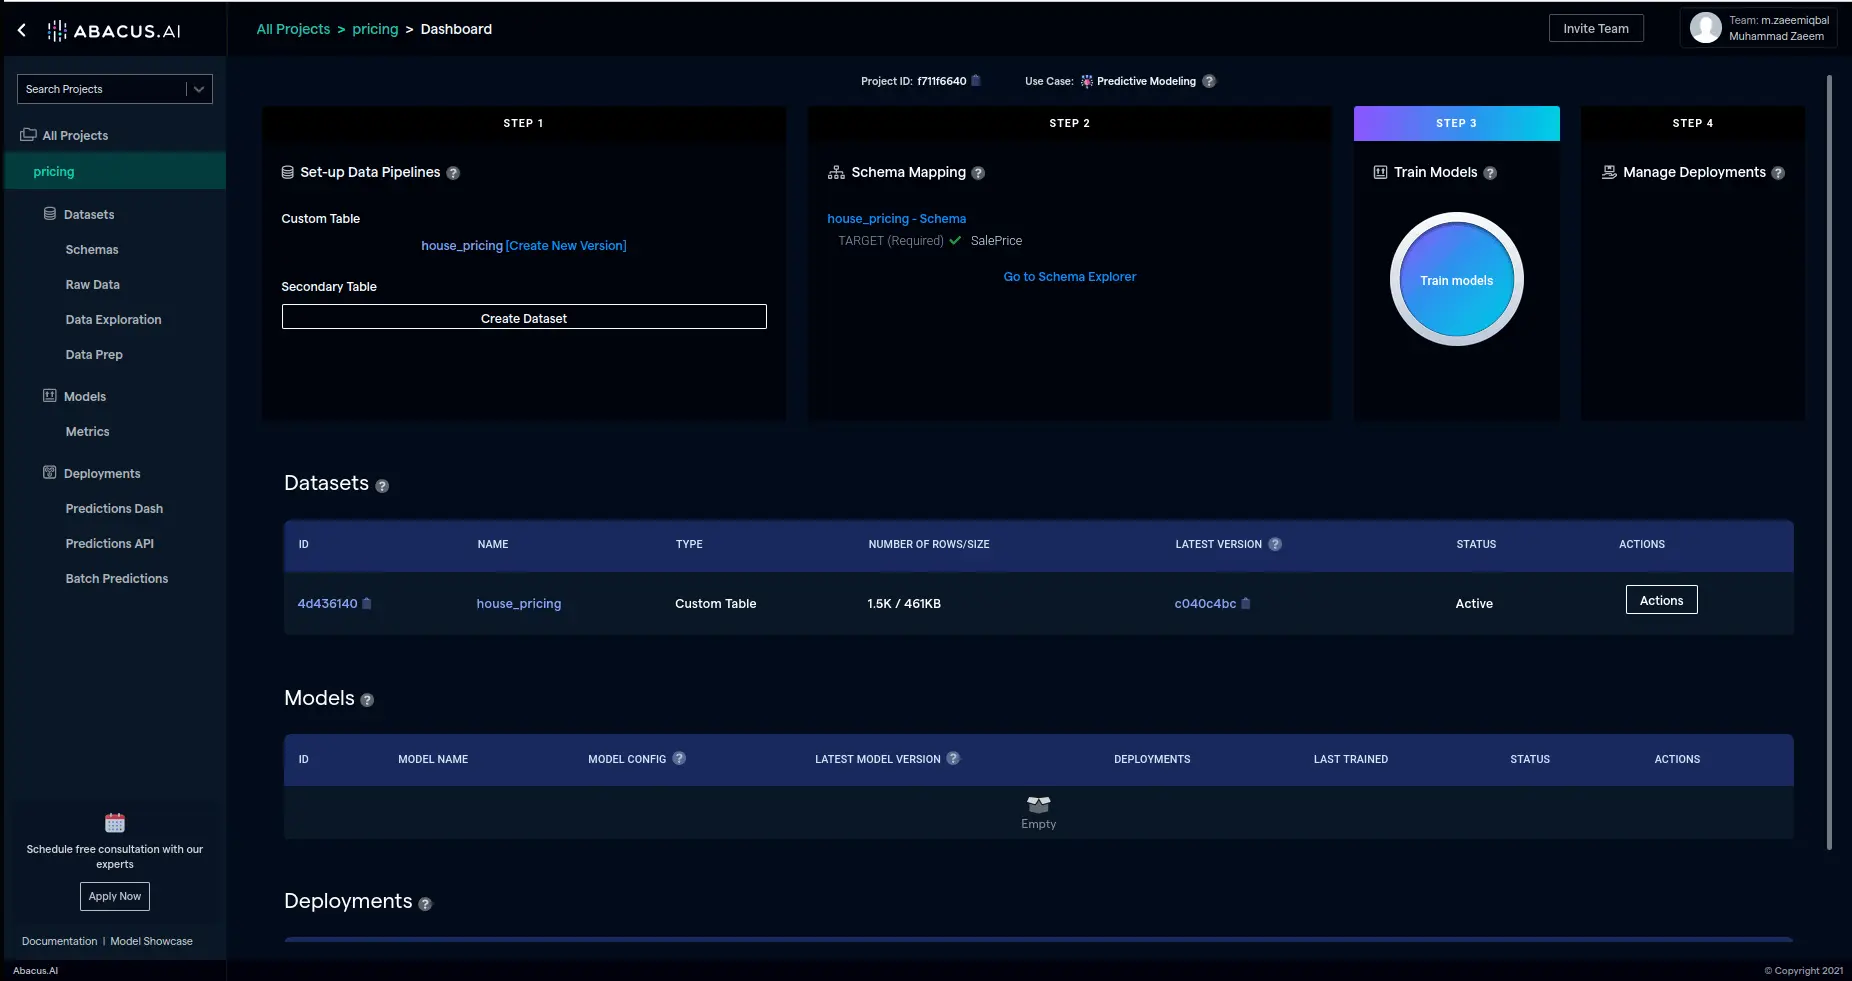
After the dataset is uploaded, configure the schema mapping and proceed to train models with the data.
Supported Data Types
- Supported Data Types: The SharePoint connector supports ingesting documents and files. Documents and files are treated as a list of documents, suitable for unstructured data use in ChatLLM projects.
Using SharePoint Data with LLMs
- ChatLLM Use Case: SharePoint documents, such as PDFs, Word files, and other unstructured data, are ideal for conversational AI use cases. These documents are ingested as a list of documents and processed into a Document Retriever for retrieval-augmented generation (RAG).
Feature Group Types
- List of Documents: Used for unstructured data, such as uploaded documents, in ChatLLM projects. These feature groups require processing into a Document Retriever for retrieval-augmented generation (RAG).
By combining both feature group types, you can handle both unstructured and structured data effectively in a single project.
Microsoft Access Scopes and Their Purpose
The following Microsoft scopes are required across connectors that use Microsoft authentication.
These scopes ensure secure access, profile verification, dataset creation, and SharePoint integration.
-
General Mandatory Scopes
- User.Read – Identifies and validates the signed-in user and provides basic profile information.
- offline_access – Provides refresh tokens so authentication persists without repeated sign-ins.
-
Minimum Scopes required for Dataset creation.
Sharepoint Permissions:
AllSites.Read- Read items in all site collectionsMyFiles.Read- Read user files
For Realtime Sharepoint Dataset Permission:
- All of Sharepoint Permissions and
Sites.FullControl.Allapplication level Sharepoint Permission. - Following Application level Graph Permissions:
Directory.Read.All,Sites.Read.All,Files.Read.
Permissions and Access
When setting up the connector, the following application level permissions are requested: (Please grant admin consent to the AbacusAI_Sharepoint_Connector application to grant application-level permissions)
- Files.Read.All: Read files in all site collections
- Sites.Read.All: Read items in all site collections
- Sites.Selected: Access selected site collections
- SensitivityLabels.Read.All: Read sensitivity labels and their policy settings
- Directory.Read.All: Read directory data (Optional: Required for permission aware sharepoint connector)
- GroupMember.Read.All: Read all group memberships (Optional: Required for permission aware sharepoint connector)
- User.Read.All: Read all users' full profiles (Optional: Required for permission aware sharepoint connector)
- User.ReadBasic.All: Read all users' basic profiles (Optional: Required for permission aware sharepoint connector)
- Sites.FullControl.All (Sharepoint) API: Have full control of all site collections (Optional: Required for permission aware sharepoint connector)
We also request for following delegated permisisons:
- Files.Read.All: Read all files that user can access
- Sites.Read.All: Read items in all site collections
- User.Read: Sign in and read user profile
- Sites.Selected: Access selected Sites, on behalf of the signed-in user
- AllSites.Read: Read items in all site collections
- MyFiles.Read: Read user files
- SensitivityLabel.Read: Read the user's sensitivity labels
- Directory.Read.All: Read directory data (Optional: Required for permission aware sharepoint connector)
These permissions allow the connector to pull necessary data for analysis and model training.
Troubleshooting and FAQ for the SharePoint connector
Can I use multiple SharePoint connectors in Abacus.AI?
Yes, you can set up multiple SharePoint connectors in Abacus.AI, each with different configurations and permissions.
What's the right feature mapping schema that will allow documents to use the URLs of the original file location on the source page in the external chat portal?
To get the URLs to the original location of a file on the source page in the chatweb, you should set the URL as "Document source" instead of the file_path which is set as a document source by default.