Outlook Connector Documentation
- Setup Instructions
- Flow 1: OAuth Based
- Flow 2: Personal Service Principal
- Flow 3: Custom OAuth
- Permissions and Access
- How to Use the Outlook Connector
If you have already set up a connector, skip to How to Use the Outlook Connector.
Connect your Outlook to Abacus.AI
To integrate Outlook with Abacus.AI, you need to set up the connector and provide the necessary permissions.
Setting Up the Outlook Connector
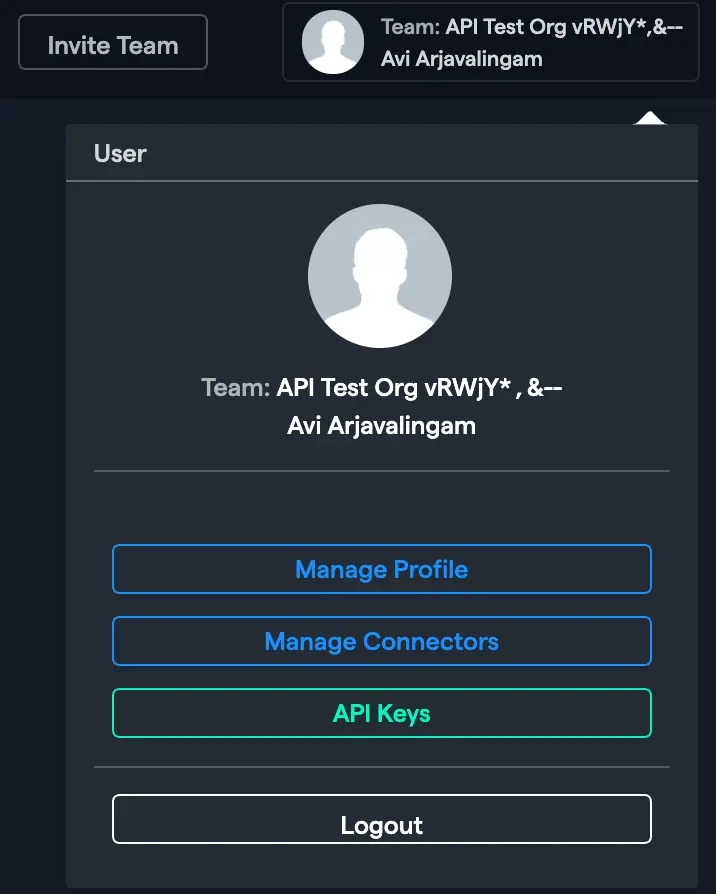
- In the Abacus.AI interface, click on your profile picture in the top right corner.

- Select "Manage Connectors" from the dropdown menu.
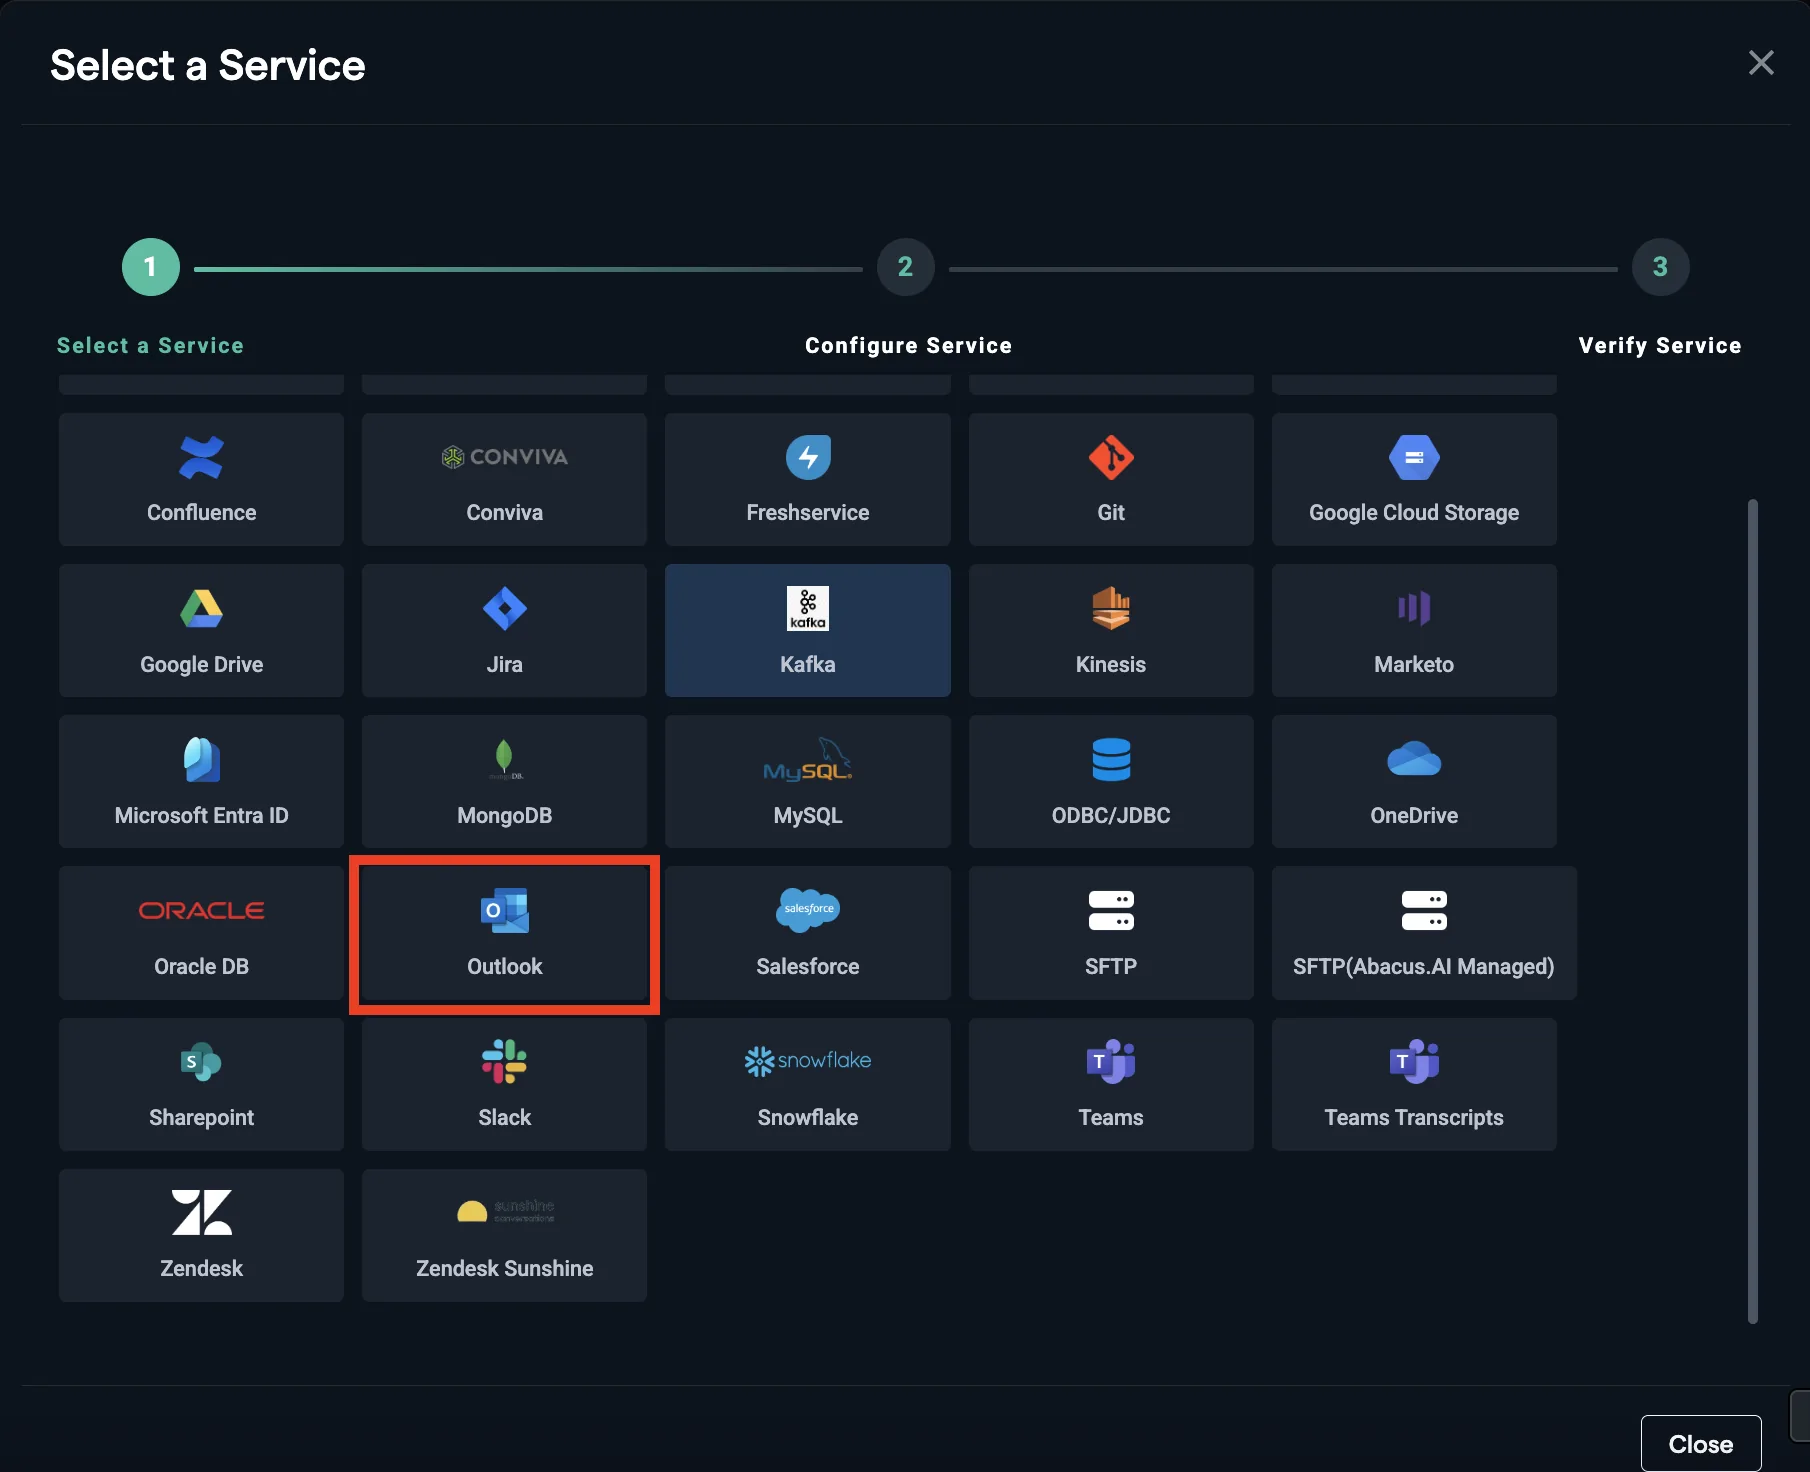
- Click on "Add New Connector", choose "Outlook" from the list.
Flow 1: OAuth Based Setup
-
Select "OAuth" from the 'Authentication Type' dropdown (this is the default).
-
Click
Connect Outlook.
- Log in through your Microsoft account (if not logged in already) and click
Acceptto grant permission to read your Outlook data.

Flow 2: Personal Service Principal Setup with Certificates
-
Select Authentication Type:
- Go to the Abacus.AI Connected Services Dashboard. You can click your profile in the top right and then click "Manage Connectors".
- Click on the "Add New Connector" option, select "Outlook" from the list, and choose "Personal Service Principal" as the authentication type.
-
Enter Client ID:
- Provide the Client ID (Application ID) of your registered Azure AD app.
-
Enter Tenant ID:
- Provide the Tenant ID (Directory ID) of your Azure AD tenant.
-
Enter Email ID:
- Provide the mailbox email address (e.g.,
user@domain.com) of the user whose Outlook mailbox you want to access.
- Provide the mailbox email address (e.g.,
-
Save and Download Certificate:
- Click "Save". A popup box will appear with a certificate. Download this certificate as it will be required for the next steps.
-
Grant Permissions in Microsoft:
- Grant the necessary application-level permissions in Microsoft for the Personal Service Principal.
-
Upload the Certificate:
- Go to the Azure Portal → App registrations → Select your app → Certificates & secrets → Certificates tab.
- Upload the certificate downloaded in step 5.
-
Verify Connector Status:
- Once the permissions are granted and the certificate is uploaded, the connector should be set up and display an "ACTIVE" status.
- The Personal Service Principal flow uses certificate-based authentication instead of OAuth tokens. No user login is required after the initial setup.
- The service principal accesses the specified user's mailbox using the Microsoft Graph API with app-only permissions (
/users/{email}/messages). - Email ID is required — the service principal needs to know which mailbox to access since app-only tokens don't have a signed-in user context.
Flow 3: Custom OAuth
-
Select "Custom OAuth" from the 'Authentication Type' dropdown.
-
Use your own OAuth app and grant it access to read data.
- Copy the app's Client ID and Client Secret, then enter them into the Client ID and Client Secret fields. Note: Please refer to Microsoft documentation to create the app and add necessary scopes to app.
-
Click
Connect Outlook.
Microsoft Access Scopes and Their Purpose
The following Microsoft scopes are required across connectors that use Microsoft authentication. These scopes ensure secure access, profile verification, dataset creation, and Outlook integration.
-
General Mandatory Scopes
- User.Read – Identifies and validates the signed-in user and provides basic profile information.
- offline_access – Provides refresh tokens so authentication persists without repeated sign-ins.
-
Minimum Scope required for Dataset creation.
- Mail.Read
Permissions and Access
Application-Level Permissions for Service Principal
When using the Personal Service Principal flow, the following application-level (app-only) permissions must be granted to your Azure AD app registration. These permissions require admin consent:
| Permission | Description | Required |
|---|---|---|
| Mail.Read | Read mail in all mailboxes | Yes |
| Mail.ReadBasic.All | Read basic mail in all mailboxes | Yes |
| MailboxSettings.Read | Read all user mailbox settings | Yes |
| User.Read.All | Read all users' full profiles (needed to access user mailboxes via /users/{email} endpoint) | Yes |
To grant these permissions:
- Go to the Azure Portal → App registrations → Select your app → API permissions.
- Click Add a permission → Microsoft Graph → Application permissions.
- Search for and add each permission listed above.
- Click Grant admin consent to activate the permissions.
Delegated Permissions (OAuth and Custom OAuth Flows)
When setting up the connector with OAuth or Custom OAuth, the following delegated permissions are requested:
- email: View users' email address
- Mail.Read: Read user mail
- MailboxFolder.Read: Read a user's mailbox folders
- MailboxItem.Read: Read a user's mailbox items
- MailboxSettings.Read: Read user mailbox settings
- offline_access: Maintain access to data you have given it access to
- openid: Sign users in
- profile: View users' basic profile
- User.Read: Sign in and read user profile
These permissions allow the connector to pull necessary data.
How to Use the Outlook Connector
Once the Outlook connector is set up, you can fetch emails to train models in Abacus.AI.
- Create a new project and select the use case, then go to the "Datasets" tab and click "Create Dataset".
- Name the dataset, choose "Tabular data", then click "Continue".
- Choose "Read from External Service" and select your Outlook connector under "Application Connectors".
- Click on 'Add Dataset'.